As your kids gets a little older, you’ll find that you’ve amassed a wide selection of arts and crafts supplies. You’ll also find that locating places to store these items grows more difficult. This project will at least take care of where to store all of those pencils, pens, and markers. With a little bit of your help, your child can make a DIY tin can pencil holder pretty easily.
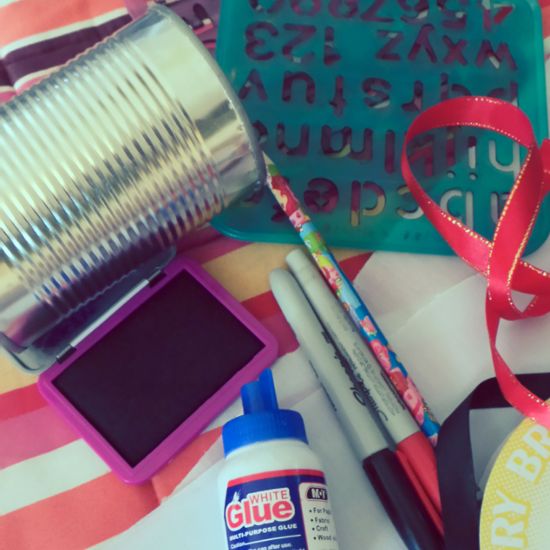
What You Need
- Tin can
- Fabric
- Scissors
- Markers
- Stencil
- Ribbon
- Craft glue
Instructions
- Clean out the tin can well. Rinse with warm water to make sure all debris from previous contents are removed.
- Cut a few strips of colored fabric. Choose a vibrant color or pattern to add some style to the project and/or to match your kid’s room.
- Lay a stencil on top of a fabric strip and use a marker to color in the letters or shapes of your choosing.

- After the can is completely dry, glue the fabric directly onto it. Smooth out any bubbles as you lay the fabric down on top of the glue. Pro-tip: Fold the edges of each side of the fabric to ensure they meet evenly in a unified seam.
- Cut two pieces of colored ribbon to place along the top and bottom edges of the can where the fabric ends. This will give the can a clean look and can help to cover up any uneven parts on both the fabric and the can itself.

Optional: Instead of stenciling the fabric, simply glue it to the tin can then affix colored popsicle sticks to the fabric to create an interesting pattern.
Image sources: Guidecentral, Flourishing at Home


