There is a garland for every occasion these days. I should have called the post “Garlands: not just for Christmas, Easter, Hanukkah or Valentines day anymore” Right? …OR! I could just give you a simple DIY for a St. Patrick’s Day garland. Garlands are great because you likely already have the materials you need and your kids can definitely get involved.
You’ll Need
- 1-inch circle punch
- 2-inch circle punch
- White cotton string
- Glue stick
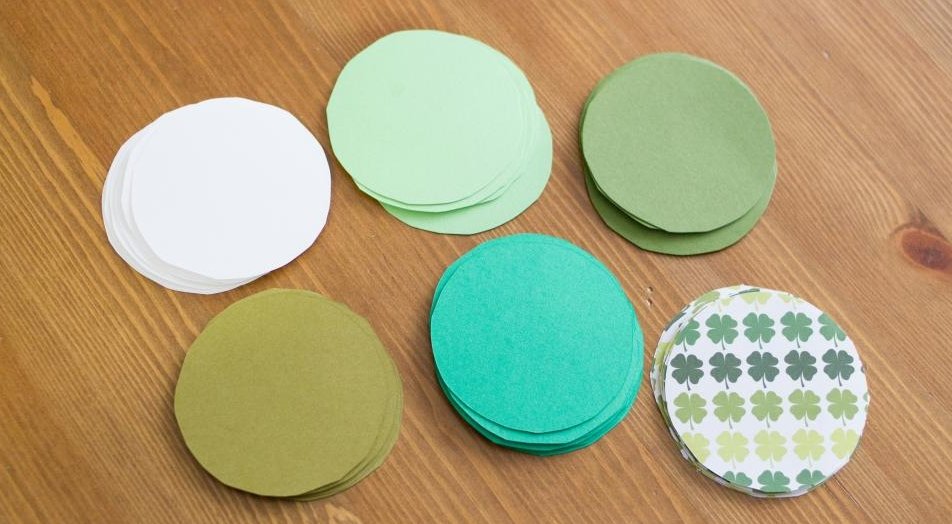
- An array of scrapbooking papers, in patterns of green and white
Directions
- Using a circle punch, create two-of-each circles from a variety of green or white patterned or plain scrapbooking papers, in a number of sizes.
- Take your circle cut outs and arrange each circle with the one that matches in a varying row across a table or countertop.
- When you’ve decided on an order to place the circles, place them in a row and stretch out a length of string alongside your row of circles. Leave a couple feet extra for the start, to leave extra length to hang the string later
- Rub glue stick on side of the paper circles you do not want shown – on the corresponding circles
- Press the string in the middle of each “bottom” circle and press the second “top” circle firmly on top of the string.
- Do the same thing for the rest of the circles, keeping a similar length between each circle pair throughout the garland.
- When you’re finished trim the end of the string but leave several feet extra for hanging.


