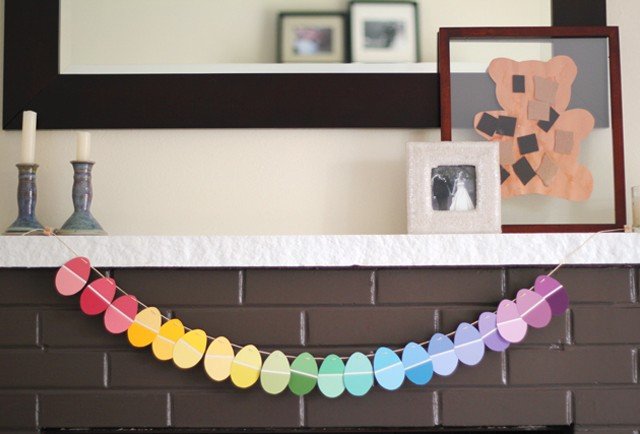
There’s something so cool about paint chips… maybe it’s the thrill of standing in a Home Depot collecting your favorite colors and not having to pay for them! You may have also accumulated a bunch of them over the years as well. I personally think this one of the prettiest and easiest kids easter crafts out there, and very customizable. After one paint chip craft you’ll look for other DIY projects!
You’ll Need
- Pencil
- Cardboard
- Scissors
- 30 large paint chips in various spring colors
- 1/8″ hole punch
- Cotton household twine or embroidery thread
- Clear tape
Directions
- Make your template by drawing a 2″ to 3″ tall egg shape on a piece of cardboard and cut it out.
- Place your template over each paint chip, centering it so white line between chip colors runs across midpoint of egg.
- Trace around template, cut out and repeat for the rest of the eggs.
- Use hole punch to make two holes, centered and about 3/8″ apart, ½” from top of each egg shape.
- Cut a length of thread about 5′ long. Tie a knot about 6″ from one end. Working on other end, wrap a 1″-long strip of tape around end, like a shoelace tip.
- Thread taped end of twine through holes of a paper egg, from back to front, then front to back.
- Pull egg carefully toward knot. Thread all eggs in this way, arranging them to slightly overlap.
- Tie knot at end and hang your beautiful garland with tape.


